





![The Grateful Dead - Madison Square Garden, New York, NY 3/9/81 (2023 Rocktober Edition) [5LP Box Set]](http://vinyl.com/cdn/shop/files/gratefuldead_2.png?v=1768197509&width=5760)







![Mac Miller - Circles [2LP Clear]](http://vinyl.com/cdn/shop/files/mac_1.png?v=1767598863&width=5760)
![Cannabis Corpse - Beneath Grow Lights Thou Shalt Rise [CD / Vinyl]](http://vinyl.com/cdn/shop/files/SOM310LPP-FRONT.jpg?v=1766139744&width=5760)

![Numenorean - Adore [CD / Vinyl]](http://vinyl.com/cdn/shop/files/SOM504LPCB.jpg?v=1766139732&width=5760)

![Mac Miller - Swimming [2LP]](http://vinyl.com/cdn/shop/files/MacMiller-Swimming_2LP.png?v=1776241230&width=5760)

![Grateful Dead - Cornell 5/8/77 [3CD]](http://vinyl.com/cdn/shop/files/GratefulDead-Cornell5877.png?v=1741144913&width=5760)
![The Grateful Dead - Fare Thee Well [4CD/2BR]](http://vinyl.com/cdn/shop/files/Grateful-Dead-Fare-Thee-Well-4-CD-2-Blu-Ray_grande_6703c49a-8a15-4420-b67f-711e2a3f8541.webp?v=1768196620&width=5760)




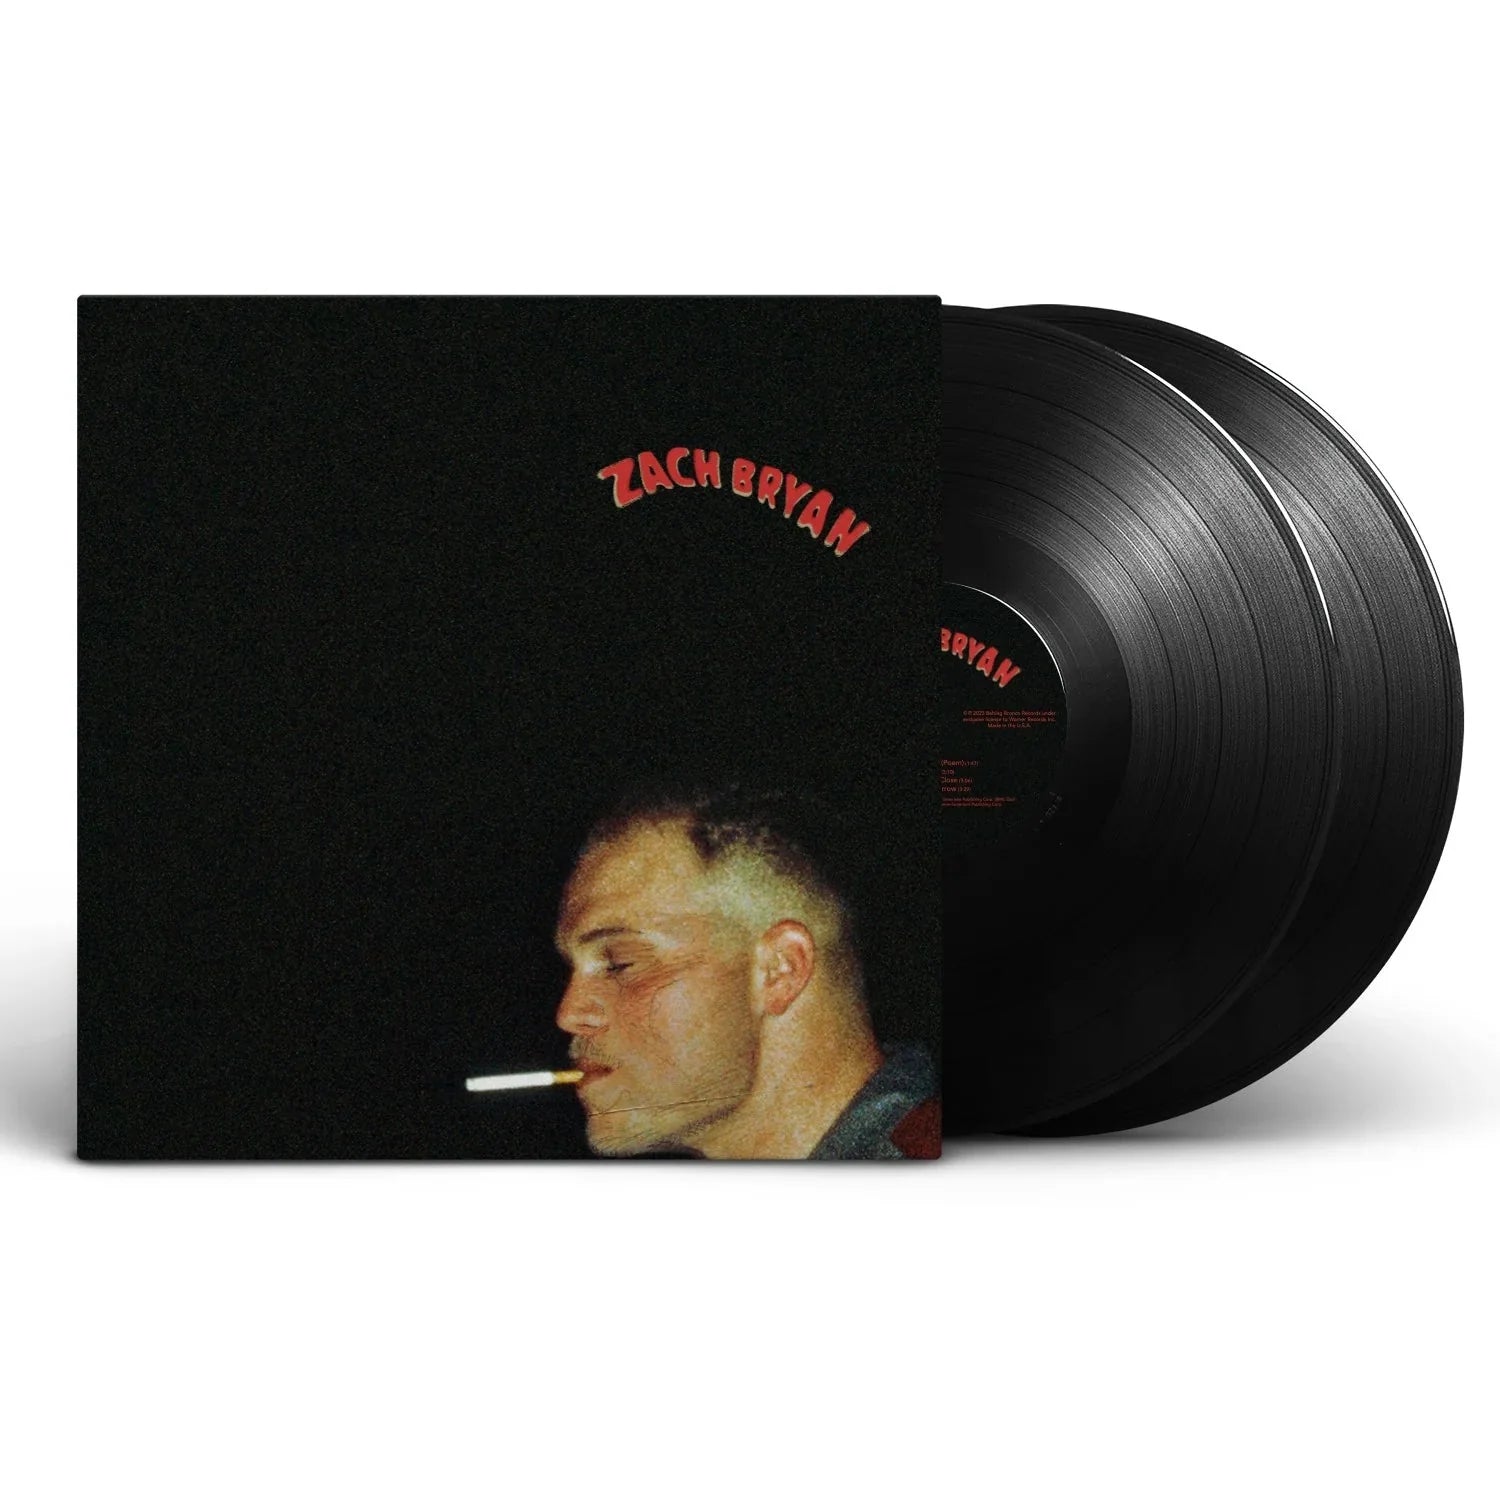
![Zach Bryan - American Heartbreak [3LP]](http://vinyl.com/cdn/shop/files/Zach_Bryan-American_Heartbreak_3LP.webp?v=1764838852&width=5760)
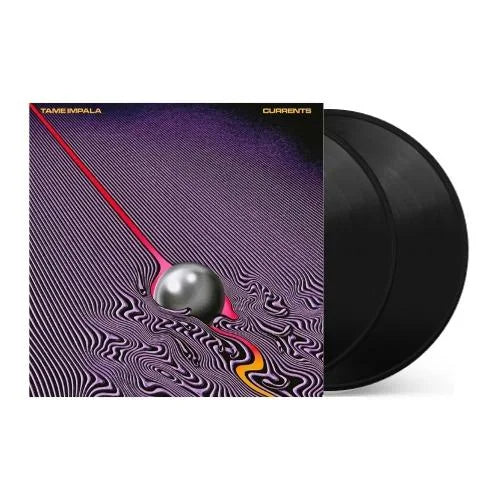
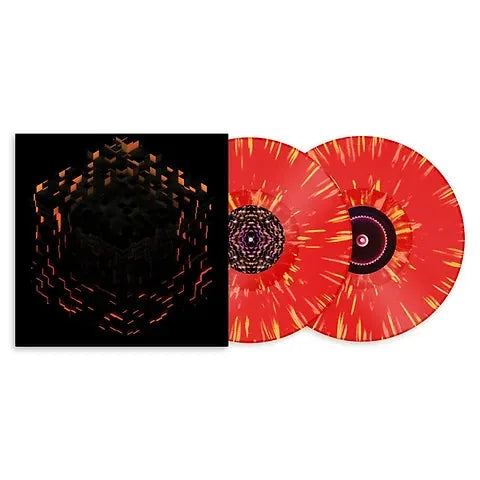



![Miles Davis - Kind of Blue [180-gram]](http://vinyl.com/cdn/shop/files/Y4LPMD03.webp?v=1742198237&width=5760)





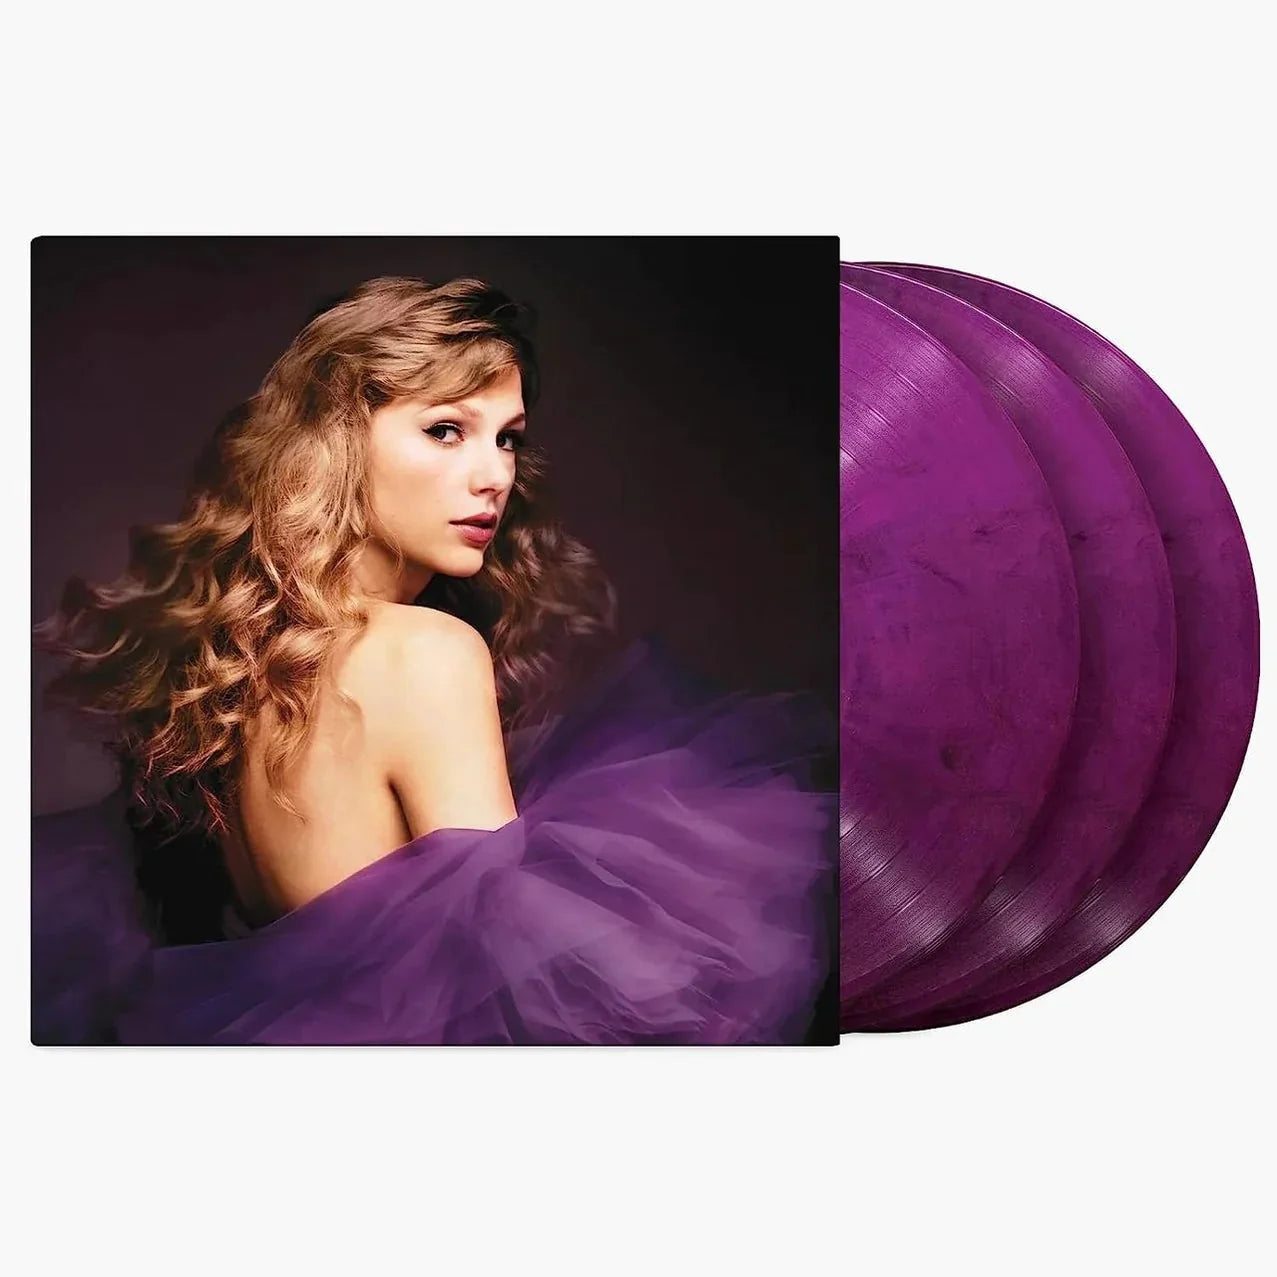
![Taylor Swift - 1989 (Taylor's Version) [2LP Crystal Skies Blue]](http://vinyl.com/cdn/shop/files/taylor_swift_1989_taylors_version.jpg?v=1734389117&width=5760)











Vinyl record grading is a critical process that allows collectors, dealers, and enthusiasts to determine the condition and value of their collections. In its simplest form, it involves assessing both the physical appearance and the auditory quality of a record, ensuring that every detail—from surface scuffs to audible pops—is accounted for. Whether examining vintage vinyl records or modern pressings, understanding vinyl record grading techniques is essential for making informed buying, selling, or collecting decisions.
The History and Evolution of Vinyl Grading
Vintage Beginnings
Early collectors noted obvious physical flaws such as scratches, warps, and surface dirt, but grading criteria varied widely from one individual to the next. As the market for vintage vinyl records grew, the need for a consistent method to assess record condition became increasingly apparent. This era laid the groundwork for what would eventually evolve into a more structured and reliable system, with early grading often based on simple visual inspection and subjective listening tests.
Standardization and Systemization
As record collecting became more mainstream, dealers and collectors began to seek uniform guidelines to ensure fair pricing and quality assurance. This led to the development of standardized vinyl grading techniques that incorporated detailed criteria to evaluate both the visual and auditory aspects of a record. Guides helped establish benchmarks such as Mint, Near Mint, Excellent, and so forth, bringing consistency to the grading process. This systemization improved transparency in the secondary market and enabled collectors to better determine the true value of vinyl record albums based on their condition.

Modern Advances in Grading
In recent years, technological advancements have further refined the process of vinyl grading. Today, collectors combine traditional visual inspections with digital tools that analyze sound quality and detect subtle imperfections. These innovations have enhanced the accuracy of vinyl grading for collectors by providing objective data to complement subjective evaluations. Modern grading now accounts for minute details like groove wear and surface noise that were previously difficult to quantify.
Vinyl Grading Techniques for Collectors
Auditory Evaluation: Assessing Sound Quality
In addition to visual cues, auditory evaluation plays a crucial role in vinyl grading. Even if a record appears to be in pristine condition, its playback quality is what truly matters to collectors. By playing the record on a high-quality turntable, enthusiasts can listen for any surface noise, pops, or clicks that may not be visible to the naked eye. This listening session should be conducted with attention to detail, focusing on the clarity of the sound and the consistency of the audio output. A record that maintains clear sound throughout—without any distracting noise—is likely to receive a higher grade. Thus, combining visual and auditory evaluations provides a well-rounded view of the record’s overall condition.
How to Grade Vinyl: Step-by-Step Methods
The vinyl grading system is a nuanced process that combines technical precision with a passion for preserving musical heritage. Meticulous attention to every detail not only safeguards the integrity of each record but also ensures its actual value is recognized. Below is an in-depth, step-by-step guide:
Clean the Record – The initial step in the grading process is to thoroughly clean the vinyl record, which is an essential foundation for accurate evaluation. Begin by gently brushing the record with an anti-static brush or a microfiber cloth designed for vinyl care. This step is crucial because even the tiniest particles of dust or debris can hide surface imperfections or create misleading impressions about the record’s condition. By removing these contaminants, you expose the true state of the grooves and allow for a more precise inspection of scratches, scuffs, or marks that might otherwise be obscured. In addition, cleaning the record benefits the visual examination and enhances playback performance, ensuring that any future listening sessions are free from pops or unwanted background noise caused by residual dirt. Use a mild cleaning solution that is safe for vinyl surfaces, and follow up with a distilled water rinse if necessary to prevent any chemical buildup. It’s important to let the record dry entirely on a clean, lint-free surface before proceeding to the next step. This careful cleaning process is a vital part of record maintenance, as it preserves the integrity of the vinyl and prevents further degradation over time. Investing time in a proper cleaning routine sets a reliable benchmark for grading, allowing collectors and experts alike to confidently assess the record’s true quality and condition without interference from extraneous particles.
Inspect Under Strong Light – With the record clean and free of debris, the next critical phase is to conduct a detailed inspection under strong, bright light. Position the vinyl on a flat, well-lit surface so that every aspect of the record can be scrutinized with precision. This process is essential for identifying subtle defects that might not be apparent under normal lighting conditions. As you examine the surface, look for any fine scratches, micro scuffs, or abrasions that could affect the sound quality. The intensity of the light helps reveal even the slightest warping or imperfections in the grooves that could lead to playback issues. Pay special attention to the labels on the record; inspect them closely for signs of wear, such as fading, tears, or misprints. Such label damage can diminish the visual appeal and historical authenticity of the vinyl, impacting its collectability. Using a magnifying glass in conjunction with the bright light is also beneficial to spot minute flaws that might otherwise be overlooked. This step is a testament to the thoroughness required in vinyl grading, where even the smallest defect is given due consideration. The combination of intense illumination and careful, methodical observation creates a reliable record of the item’s condition, ensuring that every imperfection is noted and factored into the overall assessment.
Play-Test the Vinyl – After the visual examination, it is imperative to experience the record’s performance through a careful play-test. This stage involves placing the vinyl on a well-calibrated turntable equipped with a high-quality cartridge and properly adjusted tonearm to measure its auditory fidelity. Listening critically during a play-test is vital because even a record that appears flawless to the naked eye may exhibit performance issues when played. As the needle glides over the grooves, be alert to any signs of skipping, popping, or distortion, which can be indicative of deeper groove damage or previously unseen surface imperfections. It is also important to test the record at various points—from the outer edges to the inner grooves—to ensure a consistent sound quality throughout. In addition, adjust the volume and equalizer settings appropriately so that subtle anomalies in sound reproduction become noticeable. The playtest should be conducted in a quiet environment to minimize external noise interference, allowing you to focus solely on the vinyl’s intrinsic sound characteristics. If any irregularities are detected, document them carefully, along with the specific areas where they occur. This detailed auditory evaluation not only confirms the record’s functional condition but also provides insights into how the physical state of the vinyl affects its playback performance. The play-test is critical to the grading process because it translates visual observations into tangible auditory experiences, ensuring that the record’s technical quality aligns with its visual presentation.
Evaluate the Cover – The cover of a vinyl record is an integral part of its overall presentation and value and thus demands a thorough and careful evaluation. Begin by removing the record from its sleeve and gently examining the cover for any signs of physical deterioration. This includes looking for ring wear—those concentric marks that develop from repeated handling—as well as splits or tears that may have occurred over time. Ring wear can be subtle, yet it often indicates how frequently the cover has been handled or exposed to environmental conditions. Next, scrutinize the cover for stains, smudges, or fading, particularly in areas where the artwork or text is most prominent. Stains can result from spills or improper storage conditions, while fading may signal prolonged exposure to sunlight or humidity, which can diminish the vibrancy of the original artwork. Use a well-lit area to detect any inconsistencies in color or texture, as these can sometimes be missed under standard lighting. It is also worthwhile to check the inner sleeve for additional damage, such as creases or discoloration, which could affect the overall presentation of the record. In some cases, the cover may include additional inserts or liner notes that provide historical context and enhance its collectible nature. Document each observation meticulously, as the cover condition plays a significant role in the record’s valuation and desirability among collectors.
Assign a Grade – The final step in the vinyl grading process is to assign an overall grade that reflects the record’s condition and performance across all aspects. This step requires synthesizing the detailed observations from the cleaning, inspection, play-test, and cover evaluation stages. A standardized grading scale is typically employed, ranging from Mint (M), which indicates a flawless record, to Poor (P), denoting significant damage or degradation. When assigning a grade, consider each element separately and then evaluate the record as a whole. For example, a record might exhibit excellent sonic performance during the play-test but have minor cover imperfections; such nuances should be carefully balanced in the final assessment. It is essential to document any factors that influenced your decision, such as specific scratches visible only under strong light or slight label misprints that do not affect playback quality. A detailed grading report may include comments on the technical performance and the aesthetic presentation, ensuring that all aspects of the record are represented. This comprehensive grading process serves as a guideline for collectors and helps establish a historical record of the vinyl’s condition for future reference.
Graded vinyl records involve inspecting and listening to them to determine their condition. It requires a combination of physical and auditory assessment, resulting in a standardized grade reflecting the record's overall quality. This process ensures collectors can make informed decisions about their vinyl purchases, preserving these valuable musical artifacts.

Tools and Equipment for Vinyl Quality Assessment
Essential Tools for Accurate Grading
At a minimum, collectors should invest in high-quality items that ensure the visual and auditory assessments are as precise as possible. Essential tools include a bright, preferably daylight, lamp or light box to reveal even the most subtle imperfections on the vinyl surface and cover. A magnifying glass is indispensable for closely examining fine scratches, seam splits, and other minute defects that might go unnoticed. Additionally, a quality turntable equipped with a well-calibrated tonearm and needle is vital for assessing sound quality. These instruments collectively create a reliable environment where every aspect of a record’s condition can be evaluated objectively.
How to Clean Vinyl: Best Practices and Techniques
Ensuring that these prized items remain in optimal condition requires more than just casual handling—it demands a thorough, systematic cleaning process. The following detailed guidelines explore best practices and techniques for cleaning vinyl records:
Use an Anti-Static Brush – When you begin the cleaning process, using a specialized anti-static brush allows you to sweep away fine particles that cling to the record’s surface. These dust particles may seem insignificant initially, but over time, they can embed themselves in the grooves, causing distortion and scratching the vinyl during playback. A quality anti-static brush is designed with soft bristles that attract and trap dust while minimizing friction, ensuring that the record remains undamaged.
By employing this tool regularly, you help prevent the buildup of grime that affects sound clarity and interferes with accurate grading assessments. The brush's ability to neutralize static is particularly valuable because static can cause records to cling to each other or attract additional airborne particles, further compounding the cleaning challenge. Over the long term, maintaining a routine of gentle brushing can extend the life of your records by reducing wear and tear caused by abrasive dust particles. In practice, using an anti-static brush is a mindful act that reflects a commitment to preserving audio fidelity. Whether you are preparing a record for immediate play or conducting a detailed inspection, starting with a thorough brush-down sets the stage for a more profound cleaning process. The preventive care provided by an anti-static brush helps to secure the record's delicate surface and ensure that every listening experience is as clear and enjoyable as intended, underscoring its importance in the overall cleaning regimen.Wipe with a Microfiber Cloth – Transitioning from dry brushing to a damp cleaning method, wiping your vinyl record with a microfiber cloth is a critical step for removing stubborn residues that cannot be eliminated by brushing alone. This process involves lightly dampening the cloth with distilled water or a specialized vinyl cleaning solution formulated to be gentle on the record's surface. Distilled water is particularly important because it is free of impurities that might otherwise leave mineral deposits on the vinyl. As you carefully wipe the record in a circular motion following the groove pattern, the microfiber cloth acts like a fine sponge that lifts away oils, fingerprints, and other contaminants. This technique ensures that the cleaning solution penetrates the tiny crevices and micro-details in the record’s grooves, effectively dissolving any buildup that could interfere with playback quality. Using a clean, lint-free cloth each time is crucial to avoid reintroducing dust or fibers onto the surface. This method not only refreshes the appearance of the vinyl but also revitalizes its sonic performance, reducing pops and clicks during play.
Avoid Harsh Chemicals – In the realm of vinyl care, the selection of cleaning agents is paramount, as the use of harsh chemicals can inadvertently cause more harm than good. Record-safe cleaning solutions are specifically formulated to dissolve grime and contaminants without compromising the integrity of the vinyl material. Harsh chemicals such as ammonia-based cleaners or alcohol-heavy formulations may offer a superficial shine, but they risk etching the delicate surface of the record, erasing fine details in the grooves, or even degrading the label. By opting for cleaning solutions designed with vinyl in mind, you ensure that the product’s pH balance is neutral, thus preventing any chemical reactions that could lead to irreversible damage. When applying these solutions, it is important to adhere to the manufacturer’s recommendations regarding dilution and contact time. The correct approach involves lightly misting or dampening your microfiber cloth rather than saturating it to avoid any pooling of liquid that might seep into the record’s core or edges. This careful technique preserves the record’s structure and ensures that all residual cleaning agents evaporate without leaving a harmful residue. Avoiding harsh chemicals contributes to a safer cleaning environment, particularly in spaces where multiple records are being handled, reducing the risk of cross-contamination between albums. In addition, using record-safe solutions demonstrates a commitment to sustainable maintenance practices, as these formulations are often designed to be environmentally friendly and less toxic.
Consider a Record Cleaning Machine – These machines combine the principles of vacuum suction and specialized cleaning fluids to deliver a comprehensive cleaning process that manual methods alone may not achieve. The technology behind a record cleaning machine is designed to extract embedded dirt and contaminants from the grooves, ensuring that even the most persistent debris is removed without manual intervention. Operating the machine involves placing the record on a designated platform where a series of brushes and vacuum channels work together to agitate and remove any remaining particles. This method not only cleans the surface but also provides a uniform treatment that reaches the inner and outer edges of the record—a feature particularly beneficial for records that have seen significant use or are part of a large collection. The cleaning fluid used in these machines is typically a record-safe solution that is optimized for dissolving oils and dust while being gentle on the vinyl. Once the machine has run its cycle, the vacuum component ensures that any residual moisture is quickly removed, preventing potential water spots or the risk of mold growth in high-humidity environments. The precision of these machines makes them an ideal choice for serious collectors who handle high-value or rare records, as they provide a level of thoroughness that manual cleaning may not replicate consistently.
Keep Sleeves Clean – The preservation of a vinyl record extends far beyond the cleaning process itself; proper storage plays an equally crucial role in maintaining a record’s pristine condition. Using anti-static sleeves is a vital component of this preservation strategy, as these specially designed covers protect records from dust, moisture, and static buildup that can lead to long-term damage. Anti-static sleeves are made from materials that inhibit the accumulation of static electricity, a common issue with vinyl that can attract airborne particles and cause scratching over time. When you store records in these sleeves, you create a barrier that minimizes exposure to environmental contaminants, thus preserving your collection's audio and visual quality. It is advisable to ensure that the sleeves themselves are kept clean and free of debris, as a dirty sleeve can transfer contaminants back onto the record. Regularly inspecting and, if necessary, cleaning your sleeves with a soft, dry cloth can help maintain their effectiveness over the long term. By incorporating these protective measures, you are not only safeguarding your current collection but also investing in its future value. Using anti-static sleeves demonstrates a holistic approach to record care—one that acknowledges the importance of active cleaning and preventive storage measures.
Cleaning your vinyl records using an anti-static brush, record-safe cleaning solutions, and a microfiber cloth is essential for maintaining their sound quality and longevity. Advanced cleaning with a record cleaning machine and proper storage in anti-static sleeves provide deep cleaning and long-term protection, ensuring your records remain in excellent condition for years.

Embracing the art and science of vinyl record grading means continuously refining your approach and staying informed about evolving grading techniques and industry standards. Whether grading a prized album for sale or simply evaluating a new addition to your personal collection, the goal is to achieve consistency, transparency, and accuracy in every assessment. Investing time in understanding the nuances of vinyl record condition and applying proven grading methodologies ensures that every record is valued appropriately. Ultimately, this mastery enhances your appreciation for the medium and strengthens your position in a competitive marketplace, allowing you to enjoy and preserve the rich legacy of vinyl for years to come.
